Put your Date & Price Checker on your website
Updated 31 Oct 2026
Share & place is where you get your Date & Price Checker in front of customers: switch it on from the header, share a link, add it to a page on your CaterCloud website, or paste the code into another website.
Where to find it
Open your Date & Price Checker from Build → Widgets, then pick Share & place under Whole widget.
Switch it on first
The Live / Off switch in the editor header turns the checker on or off for visitors. While it is Off, Share & place warns Customers can't use this until it's live, and anything you share stays empty until you switch it on. The switch takes effect straight away; it is not part of the draft, so you don't need to press Publish for it. Publishing your edits is separate: see Publish and undo changes to your Date & Price Checker.
If you turn it off while it is on one or more of your pages, it asks Turn it off? and tells you how many pages it will disappear from, within about a minute. Choose Keep it live or Turn it off.
If your widget is already on a page, Placed now names where it was found.
Share a link
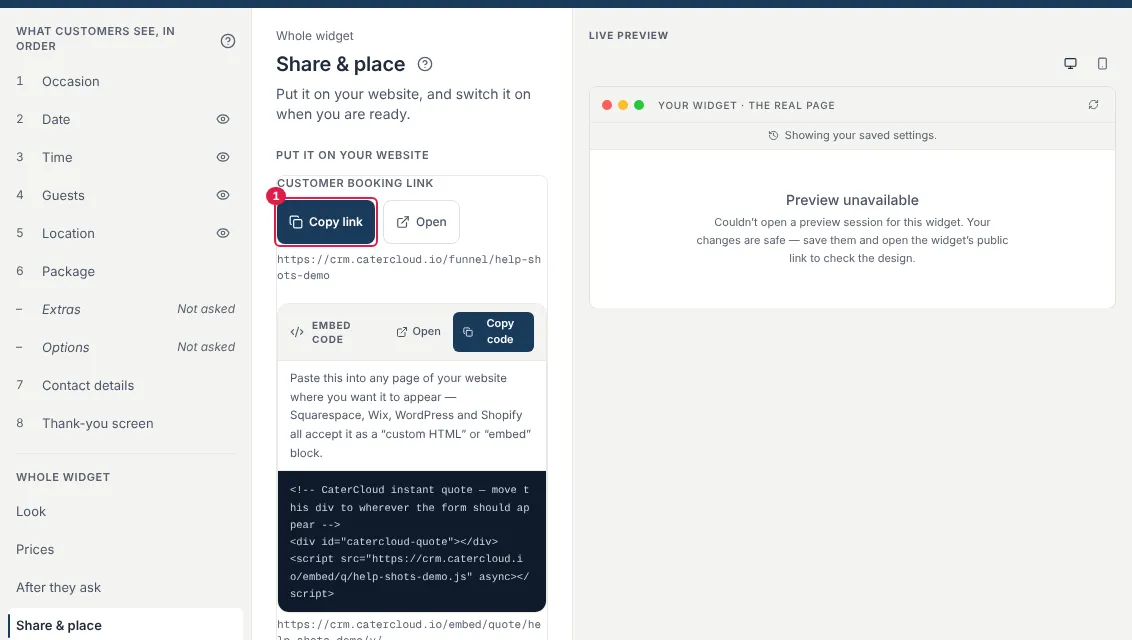
Use Copy link to copy the customer booking link, or Open to see it as a customer would. This link is a page of its own, so you can send it in a message or post it on social media without touching your website.
Add it to a CaterCloud page
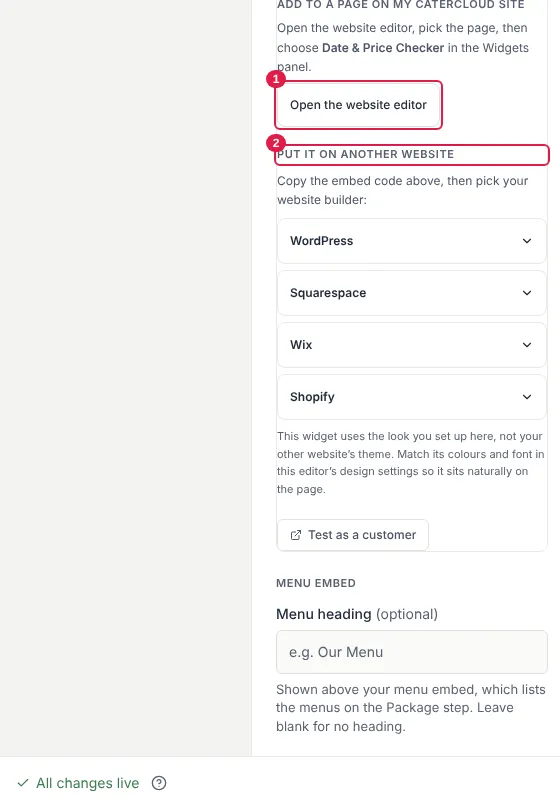
- Choose Open the website editor.
- Pick the page.
- Choose Date & Price Checker in the Widgets panel.
Put it on another website
- Copy the Embed code from Share & place. There is also a Live menu embed if you want a separate block showing just your menus; it stays in sync whenever you edit a menu.
- Open your website builder, add a code block where you want the checker to appear, and paste the code. Keep it whole.
- Save and publish your site, then check the live page. Some builders don't run embedded code in their editor preview.
Under Put it on another website, pick your builder for steps:
- WordPress — click + to add a block and choose Custom HTML. Paste the code and click Update.
- Squarespace — add a block, choose Code and untick Display Source. Paste the code, click Apply, then Save.
- Wix — click Add (+), then Embed Code, then choose Embed HTML and Code. Paste the code and click Update. Drag the box where you want it, resize it, then Publish.
- Shopify — go to Online Store → Themes → Customize, open the page, click Add section and choose Custom Liquid. Paste the code and click Save.
Make it look right
A note under the builder steps says whether the checker picks up your website's colours and fonts on its own. If it uses its own look, match your colours and font under Look in this editor.
Test it
Test as a customer lets you try the checker the way a customer would.
If you are stuck
- It shows nothing on my site. Check the header switch says Live, and that the code is on the published page, not just the editor preview.
- It looks different from my site. Adjust it under Look.
- I changed something and the site has not updated. Press Publish; edits are drafts until then.
Still stuck? Open the chat assistant (bottom-right) for help with your specific setup.